So… you’ve decided you’re going to try Spinning! First of all, we’d like to say welcome! You’re about to start down a life-long path of health, fitness, and the most satisfying reward ever: sweat! At Studio SWEAT onDemand, we’re more than casual fans of indoor cycling – we’re full blown cycle-paths. We basically built our company with our butt on a bicycle seat and our feet clipped into the pedals. What we’re saying is we LOVE the cycling game, and we’re sure that you will, too.
But starting any new routine, be it fitness or otherwise, comes with that ever-present, pesky potentiality: inertia. Meaning, it’s always a little uncomfortable delving into some activity we’re not used to, and there’s usually a beginners hump that can be just too much for some people. But we’re here to be your friends, advocates, chums, supporters, fans, and never-ending sources of sweaty inspiration and movin’ motivation, ready to give you that push you need to turn what could be a fad… into your forever.
And one easy and simple way we can do that is with lingo. We use a bunch of Spin-specific (spincific?) terminology in the cycling studio, and we’d like to introduce it all to ya right now! So dust off those flashcards, grab your #2s, and let’s talk about the most important Spin vocabulary terms for beginners!
Accelerations
A kind of interval training, where you can accelerate hard for a short period of time (say an additional 20 RPMs faster for 20 seconds), then return to baseline speed, and repeat. The idea is to go just fast enough to NOT go anaerobic.
Break Aways (A.K.A. Sprints)
Much like during an actual bike race, breaking away is when a rider decides to kick things into high gear and ‘break away’ from the pack. In Spin class, this will be a temporary all-out sprint.
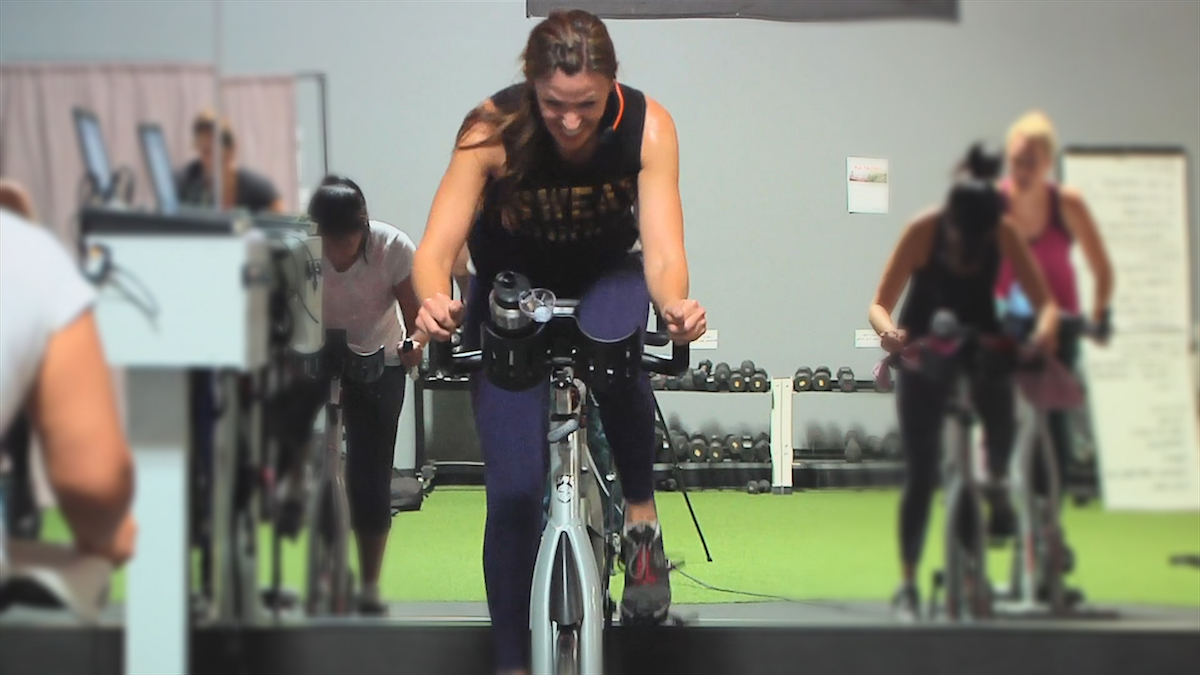
Cadence
This is a speed measurement. Your cadence is how many times your pedals complete a full rotation per minute. This is also known as your RPM, or revolutions per minute.
Climb
Climbing is when we mimic the feel of hitting a steep hill, which means increasing the resistance to your gear for a temporary period of time. Your instructor may also ask you to lift off the saddle for some of it. Usually climbs are between 60 and 80 RPMs.
Clip-In
Clipping in is a style of riding with bicycle shoes that lock into the pedals. This helps increase leg strength and speed by allowing riders to exert force on the up pedal as well as the down pedal.
Fast Flat
A baseline of moderate-to-fast pedaling placed in between different drills. They can be intervals or endurance drills. RPMs are usually 80 to 110.
Fusion
Studio SWEAT onDemand founder Cat Kom pioneered the Spin Fusion class — incorporating indoor cycling with other fitness classes like strength training, barre, Pilates, yoga, and more — for a full-body workout routine.

Gear
This is the part of your cycle that controls the resistance you’re feeling. When you adjust the gear knob to the left or right, you increase or decrease the resistance on your bike, making it harder (or easier). Some bikes have knobs, others have levers, others buttons. But if your trainer says add a gear, for example, it just means you should increase your resistance.
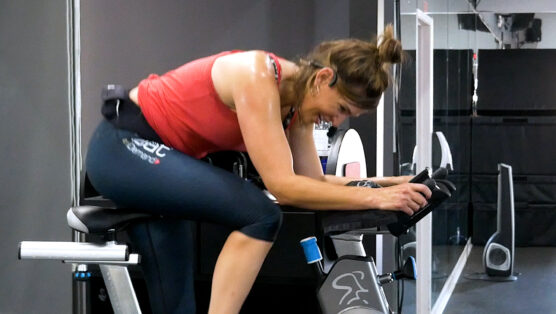
Hover
This is a position where you’re standing out of the saddle, but you push your hips back so they are over the back of the saddle and your chest is dropped. This position is somewhat controversial because it’s not something you’d typically do on an outdoor bike, but the goal for those that practice this move is to further engage the back of the legs and glutes. We’ve never seen anyone get hurt doing this, but it can aggravate the back or shoulders, so we suggest just being mindful of how less standard positions feel.
Isolations
This basically means that you’re taking out any body movement outside of the legs. So you keep the rest of your body still while pedaling your legs. This move is also not one you’d typically do on an outdoor bike, but some riders do it indoors with the goal to fire up the quads. We definitely suggest avoiding this if you have any joint issues.
Jumps
These are a type of drill your Spin class instructor will ask you to do, where you ‘jump’ (stand) out of the saddle and ride standing up for a short period of time, and then return to sitting. For example, you might jump up for four beats of the song, and then in the saddle for the next four.
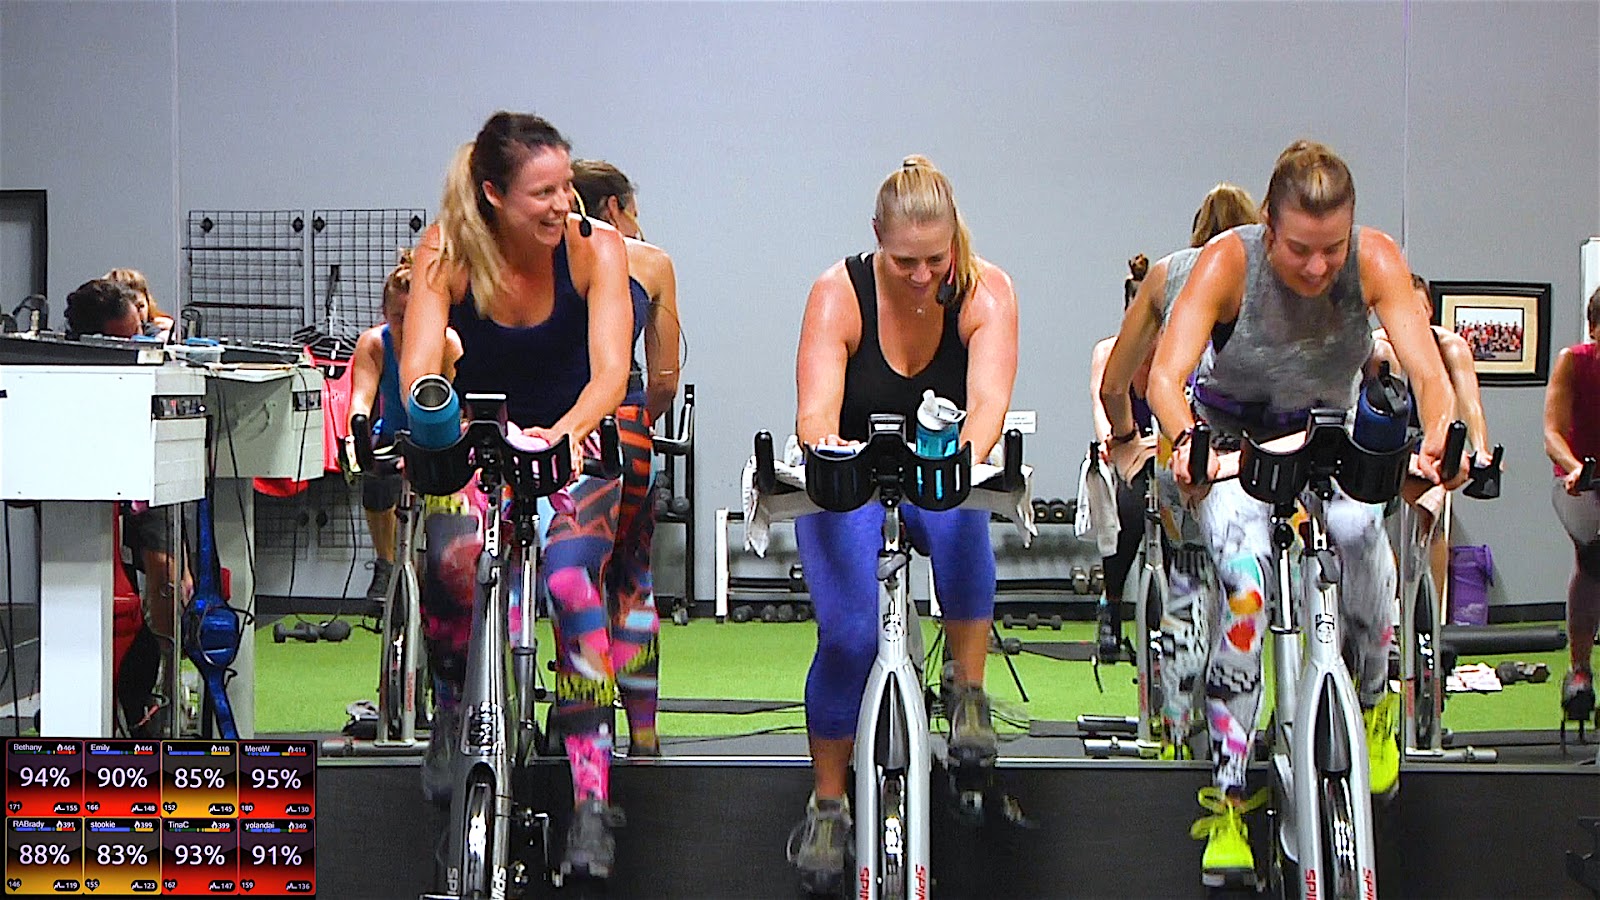
Positioning
Your hand placement during your Spin class. First position is both hands on the middle of the handlebars. Second position is hands placed at the bottom corners of the handlebars. Third is at the farthest point of the handlebars (usually when you’re standing you’re in “third”).
Rate of Perceived Exertion (RPE)
We use RPE in a number of different exercise routines, as an internal measure of the intensity of our exercise. It may not be feasible to remember what exact settings you’ve got on the bike, how fast you were going, or for how long. But if you take the same virtual cycling class and write down your own feelings of how difficult/easy the class was, you’ll be able to see changes over time.
You can use this scale:
• 1: Normal breathing, you can carry on a conversation easily
• 2: Feels like fast walk or jog, deep breathing
• 3: A run, frequent breaths, you can speak a few words between
• 4: A quicker run, you can get in a word or two between breaths
• 5: All out sprint
Resistance
The level of difficulty you experience to move the pedals. With high resistance, pedaling is harder; with low resistance, easier.
Saddle
Your bike seat. Depending on the indoor cycling class you’re taking, you may go from sitting to standing multiple times. For setting your saddle at the proper height, the seat should be directly at hip-height when you’re standing next to the bike.
Sprint
This is an all-out speed explosion to pick your heart rate up and boost your cardio. Usually, you’re going as hard as you can with a low resistance setting.
Tap Backs
Ya know how we described the hover above? And you know how we described jumps above? Well tap backs are basically hover jumps. So you’re in your normal rider’s stance, but then you drop to the hover position then back to standing. This is usually done to the beat of the music.
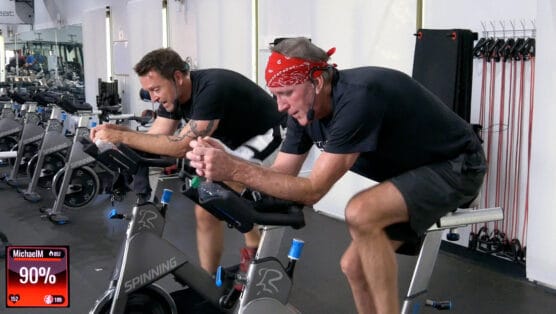
Tuck
This is when you’re seated with your forearms on the handlebars. To get in this position you scoot your buns to the back of the saddle (almost slightly exaggerated), lean forward from the hips, and place your forearms on the handlebars.
Well now you’re just a gear-headed genius aren’t you? Time to take that well-earned knowledge into the cycling studio and get to work! Need some guidance there, too? We’ve got you — sign up for a 7-Day Free Trial with Studio SWEAT onDemand. We’ve got an exhaustive and explosive library of virtual indoor cycling classes, taught by the most passionate trainers you’re likely to find. And with our tight knit community of members from all parts of the globe, you’ve also got a deep well-spring of love and support. Sign up today, and let’s get Spinning!






Comments - 0